How to work with macros
Macros can be used in combination with automation tasks to add additional metadata to the export result. You can use macros directly in the datastore and task definition, as well as in the following config items:
Filename (Export to CSV, Excel, and HTML)
Sheet name (Export to Excel)
Table name (Export to SQL)
Email subject (All datastore types)
Email message (All datastore types)
Available macros
The following macros are available:
| The ID of the exported Angle. |
| The name of the exported Angle. |
| The normalized name of the exported Angle. All spaces and special characters used in the Angle name will be removed. |
| The condition for condition based automation task. |
| The condition result for condition based automation task. |
| The ID of the exported Display. |
| The name of the exported Display. |
| The normalized name of the exported Display. All spaces and special characters used in the Display name will be removed. |
| The resource locator of the Display. |
| The language of the exported data. |
| The ID of the model the Angle is part of. |
| The timestamp of the model the exported Angle is part of. |
| The amount of objects in the export. |
| The contents of the exported Display. |
| The number of rows exported for this Angle. |
| The number of rows available in the Display. |
* This macro should not be used in filenames, because it can contain special characters which can cause errors during the export.
How to use macros
In the following example, you can see how to use macros in the settings of both Datastores and Automation Tasks.
Example
In this example, we create an automated export to CSV of the Angle "Controlling Cost Totals". The following needs should be met:
The export should be sent to your email address daily.
The name of the CSV file should be the normalized Angle name.
The Angle name should be mentioned in the subject of the email message.
The model timestamp and the Display name should be mentioned in the body of the email message.
Navigate to → .
Click Add new datastore.
Select the Export to CSV datastore and click OK.
Enter your desired settings for the CSV export. In the File name field, add the macro
{anglename:normalized}to make sure that the filename of the resulting CSV file is the normalized Angle name.Click Save.
Navigate to → .
Click Add task.
Enter the desired settings for the task.
Click Add action.
Enter the url of the "Controlling Cost Totals" Angle (see Automation tasks).
Select the Datastore that you created in a previous step and configure its settings.
Select Send a notification after the task has finished. The Email settings section expands.
Click Add recipient and enter your e-mail address. Select which e-mails you want to receive (Result, Success, Failure).
Enter the subject and include the
{anglename}macro. The Angle name is now always part of the subject line.Create the body of the e-mail and include the
{modeltimestamp}and{displayname}macros.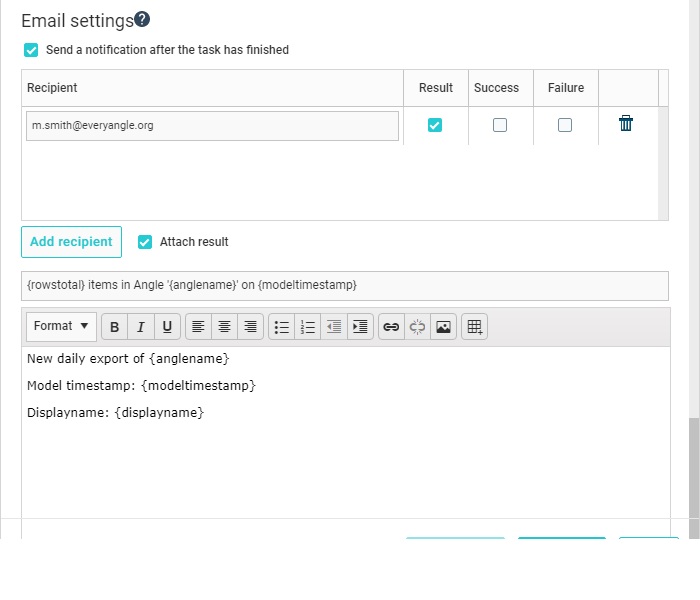
Click OK to save the action.
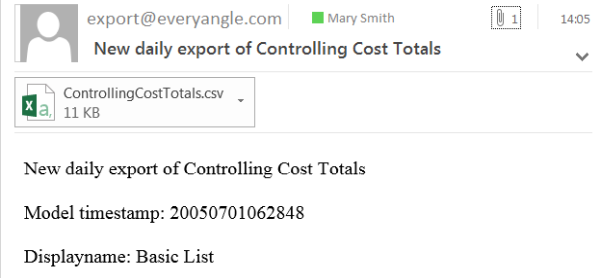
You will now receive e-mails that look as follows: